Fall Maintenance Tips
10/3/2014
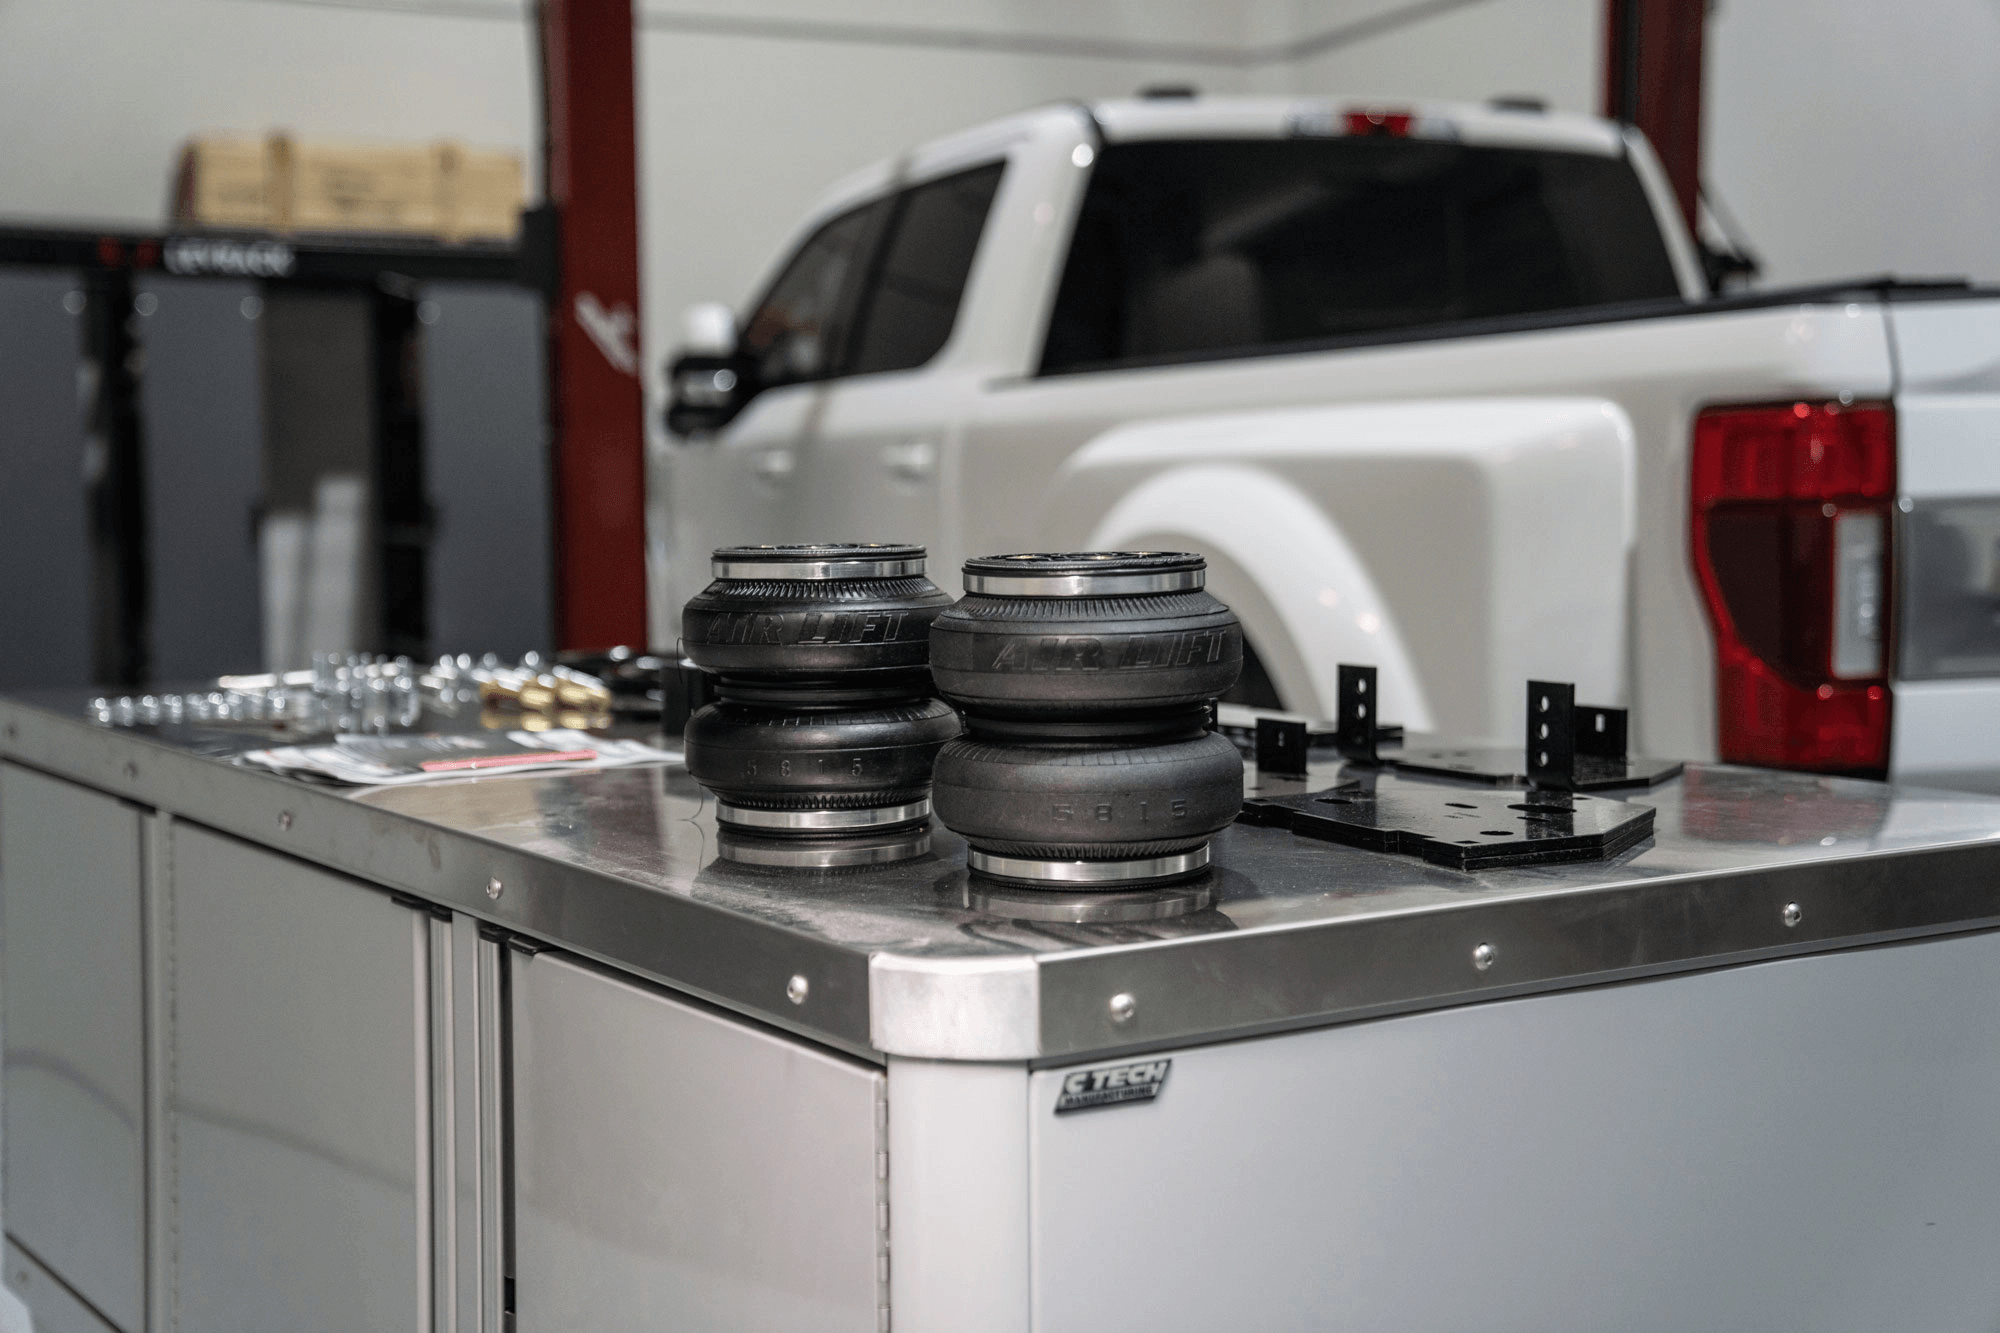
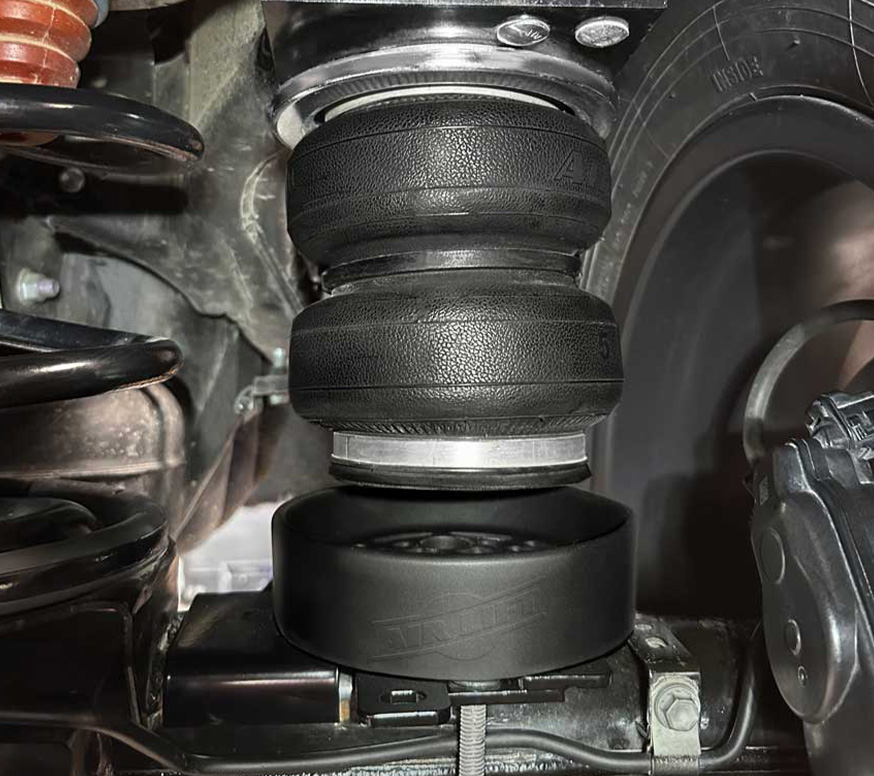
Air springs are designed to last a lifetime under your vehicle.
But, in order for them to work the absolute best they can and last as long as possible, it helps to do a little routine maintenance every now and then.
Of course, winter is coming, which means freezing temperatures, muddy, slushy roads and some slipping and sliding on your morning commute—unless you live in snow-free climate, that is. Regardless of the kind of weather you encounter during the winter months, however, you should consider reading this for a handful of tips for the basic maintenance of your air springs.
Keep an eye on that air pressure.
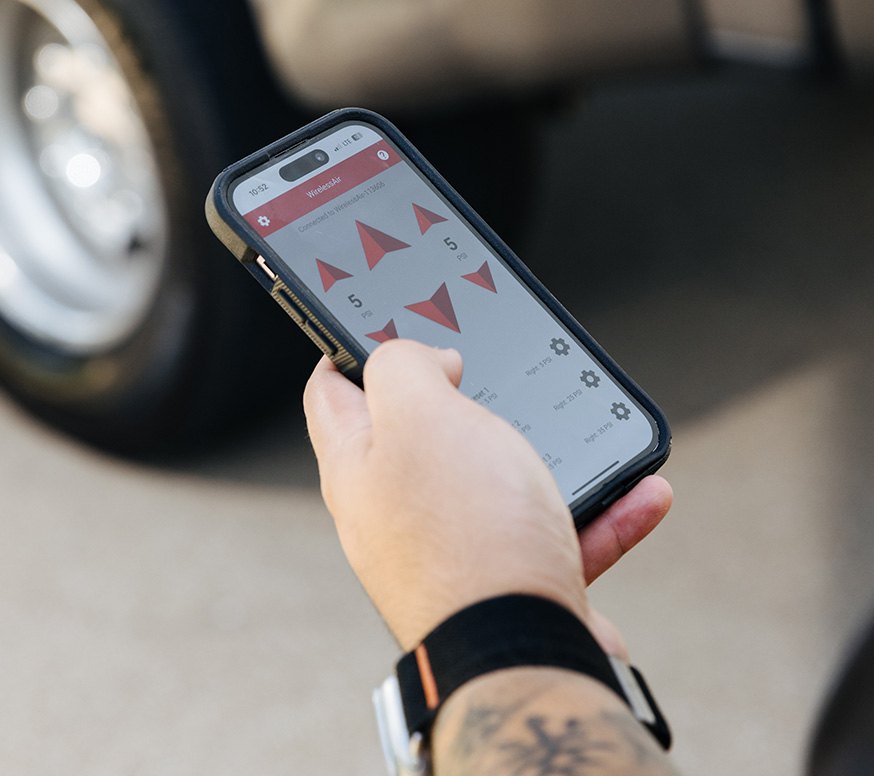
When the vehicle is unloaded, check the air pressure in your air springs to ensure that the minimum recommended pressure of 5 PSI is maintained. Minor dips and increases in air pressure can be expected as the temperature cools and warms…but if you are consistently losing air, you may have a leak.
If you’re concerned that you might have a leak, then you can perform a leak test. Create a soapy water mixture from one part soap and four parts water, and spray the soapy water on all inflation valves and fittings. Bubbles will spring up from any leaks, thanks to that soapy water coating.
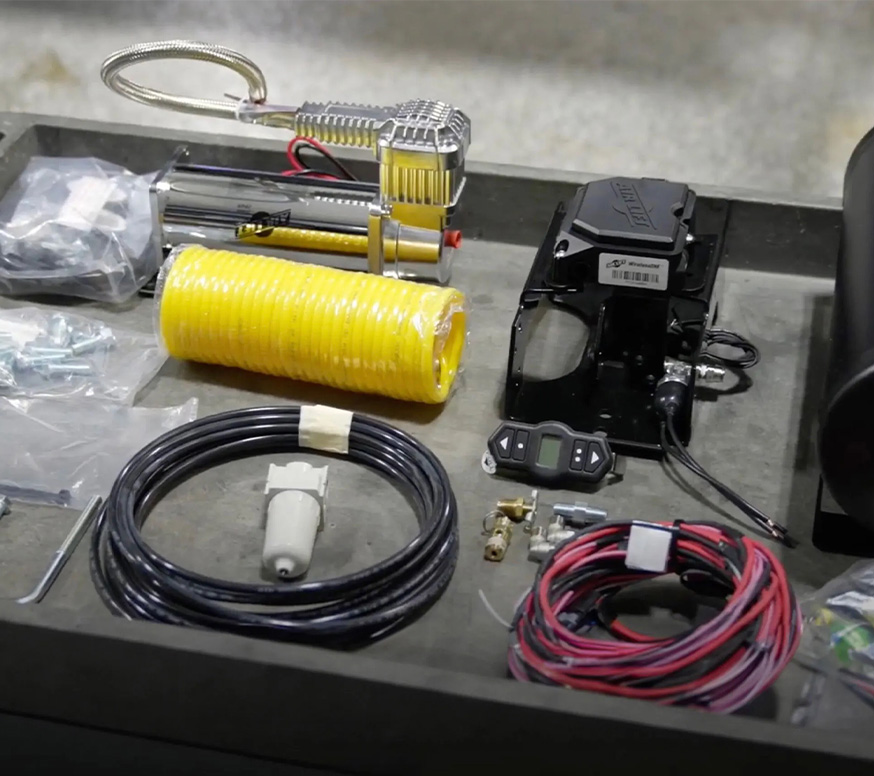
For added air pressure convenience, add an Air Lift on-board air compressor system to inflate and deflate your air springs with the touch of a button. All Air Lift On-Board Air Compressor Systems automatically maintain minimum recommended air pressure settings. That makes your life a little easier, and eliminated one of the few maintenance tips for maximum air spring functionality!
Take a closer look.
This one is simple: just take a look under the car and inspect the items mounted underneath…just to make sure nothing was knocked loose by road debris.
If you’re not quite sure what to look for, then be sure to at least check:
- Heat shields – Check that your heat shields are still securely mounted, and ½” to 1” of dead air space is maintained between the heat shield and the heat source (exhaust pipes, etc.).
