Tech Tip: How To Cut Air Line
12/7/2015
Nothing can be more frustrating than spending several hours installing your new air spring kit only to find a leak when you test it at the end of installation. A common cause of that problem – did you properly cut the air line before installing?
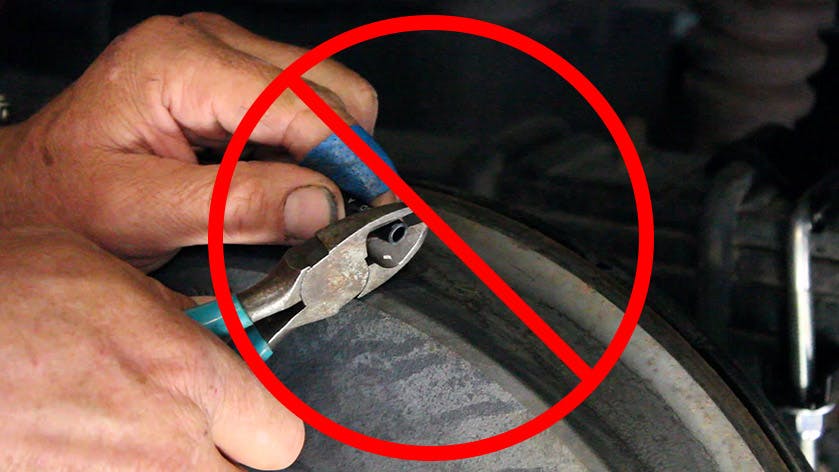
When cutting or trimming the air line, use a hose cutter, a razor blade or a sharp knife. A clean, square cut will ensure against leaks. Do not use wire cutters or scissors to cut the air line. These tools may flatten or crimp the air line, causing it to leak around the O-ring seal inside the fitting.
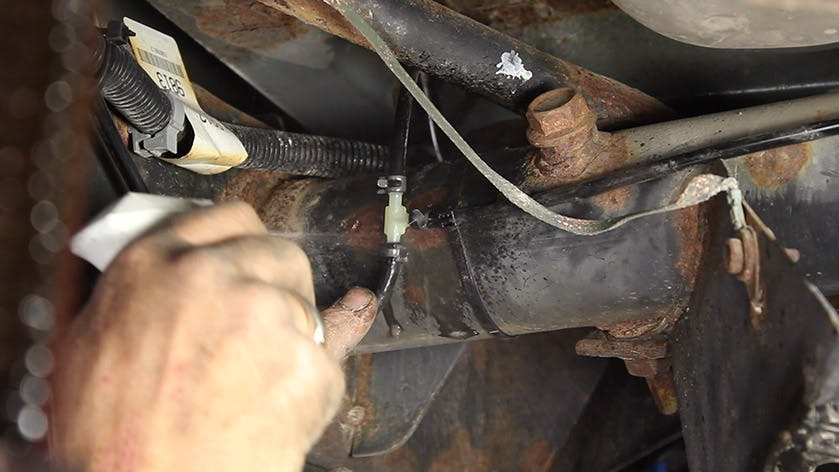
For installation with push-to-connect fittings, simply push the air line into the 90° swivel fitting until it bottoms out (9/16” of air line should be in the fitting).
To check for leaks, perform a leak test: inflate the air spring to 60% of its maximum air pressure and spray all connections and inflation valves with a solution of 1/5 liquid dish soap and 4/5 water.
You can spot leaks easily by looking for bubbles in the soapy water. If you notice any bubbles around the air line connection, deflate the air spring and remove the air line by pulling the collar against the fitting and pulling firmly on the air line. Trim 1” off the end of the air line. Be sure the cut is clean and square as discussed above. Reinsert the air line into the push-to-connect fitting. Use the dish soap solution to make sure no leak remains.
Properly cutting air line can be a small detail that saves you a lot of time and worry later on – make sure it is clean and square!